Overview
On Chronicall 3.10 and newer, you can use the application installer to install a Data Grid Node. This article covers the basics of the Data Grid Node.
This article is relevant for large call volume sites. Additional Datagrid Nodes can increase the performance of your reports by reducing run times and query searches.
Installation Steps
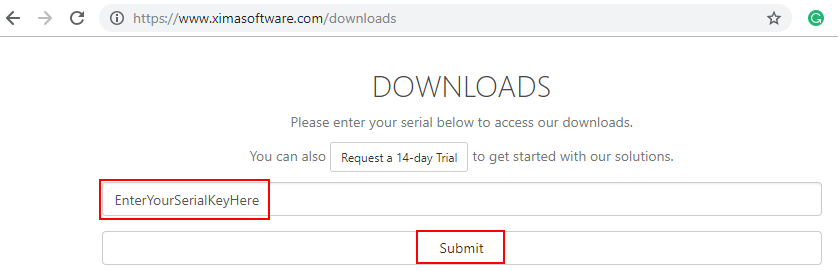
Navigate to https://www.ximasoftware.com/downloads.
- Enter your serial key as shown below, then select Submit
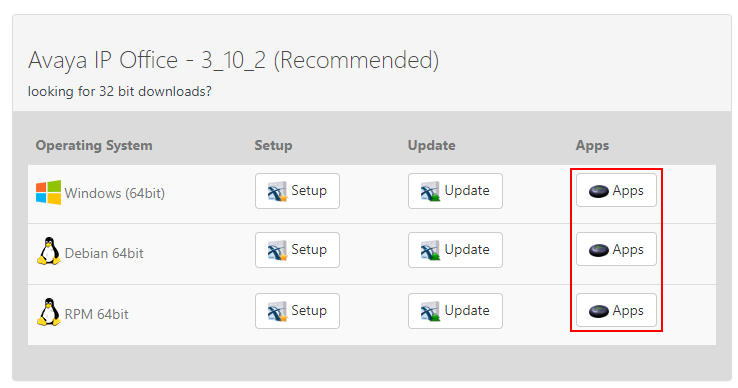
- Select the Apps installer based on your operating system and what Chronicall version you have installed already on your Chronicall Server. You can verify your current version by going to Help > About Chronicall
- Move the Apps installer to the computer you would like to install the Data Grid Node on. Keep in mind this computer will dedicate some of its resources to help the Chronicall server process data
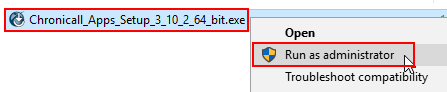
- Run the Apps installer as an administrator
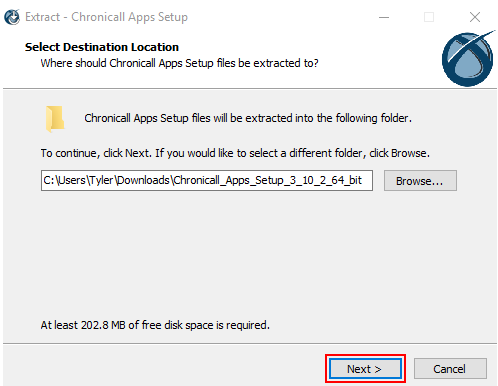
- Select Next if the default path for extraction looks good. This is where it will unpack the installation files.
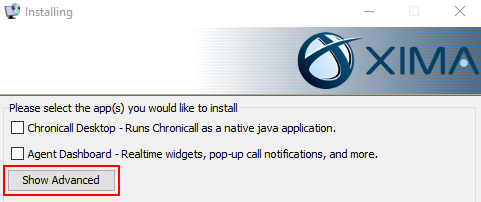
- Select Next, "I Accept The Agreement", Next, Show Advanced
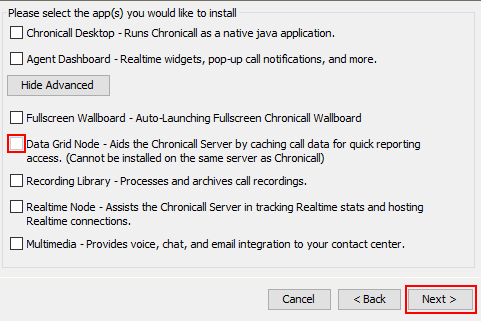
- Place a checkmark next to the Data Grid Node, then Next
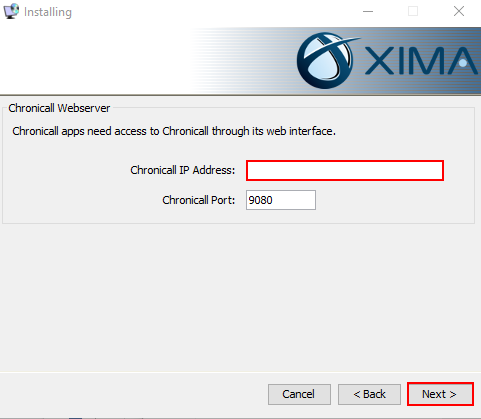
- Enter your Chronicall server IP address, and hit Next
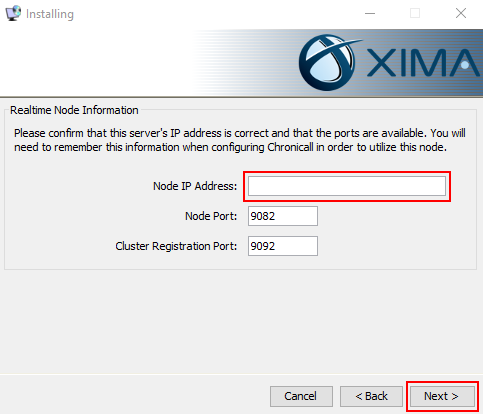
- Verify the correct IP address is showing for the server you want the Data Grid Node installed on, then select Next.
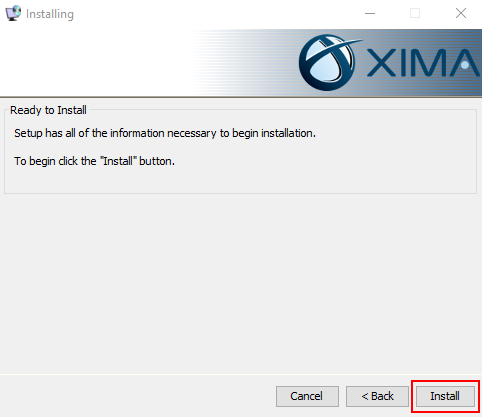
- Select Install to complete the installation