Overview
The document below provides step-by-step instructions on how to swap out your serial keys.
Steps
- Go to “Admin (System)” and then click on “System Settings.”
- Click on “Basic Settings.”
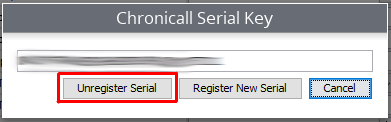
- Locate the serial key metric and click on the ellipsis at the far end of the bar.

- Click “Unregister Serial.”
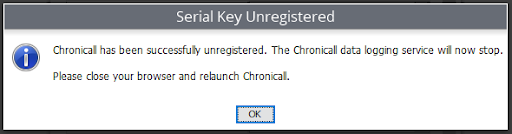
- Click "Yes"

- Click “OK” on the next popup. After you click “OK,” do not click the save button.
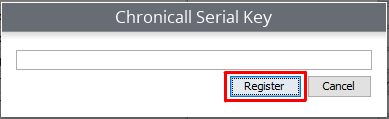
- Go back into the serial key metric by clicking on the ellipsis again.
- Paste in the new serial key.
- Click “Register.”
- Click “OK.”
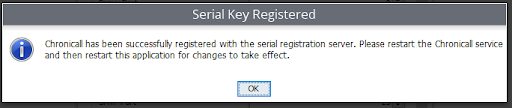
- Restart your Chronicall services
After you’ve done that, you can log back into your system and your serial key will have been updated.