This article covers the way to migrate Chronicall to a new server using older versions of Chronicall.
- Running the backup may cause significant downtime for Chronicall. It is recommended to run the backup after hours to minimize logging gaps
- NOTE: Please verify that your exact version of Chronicall is available on our website, by visiting our downloads page. If the versions do not match, please update ACR or Chronicall to a current version before migrating (e.g. you are on version 3.8.6 but see 3.8.7 on the website)
- It is essential to make sure the new and old server Chronicall versions match for the database migration to succeed
- To verify your current version, go to Help -> About Chronicall on the main ACR / Chronicall screen.

- To verify your current version, go to Help -> About Chronicall on the main ACR / Chronicall screen.
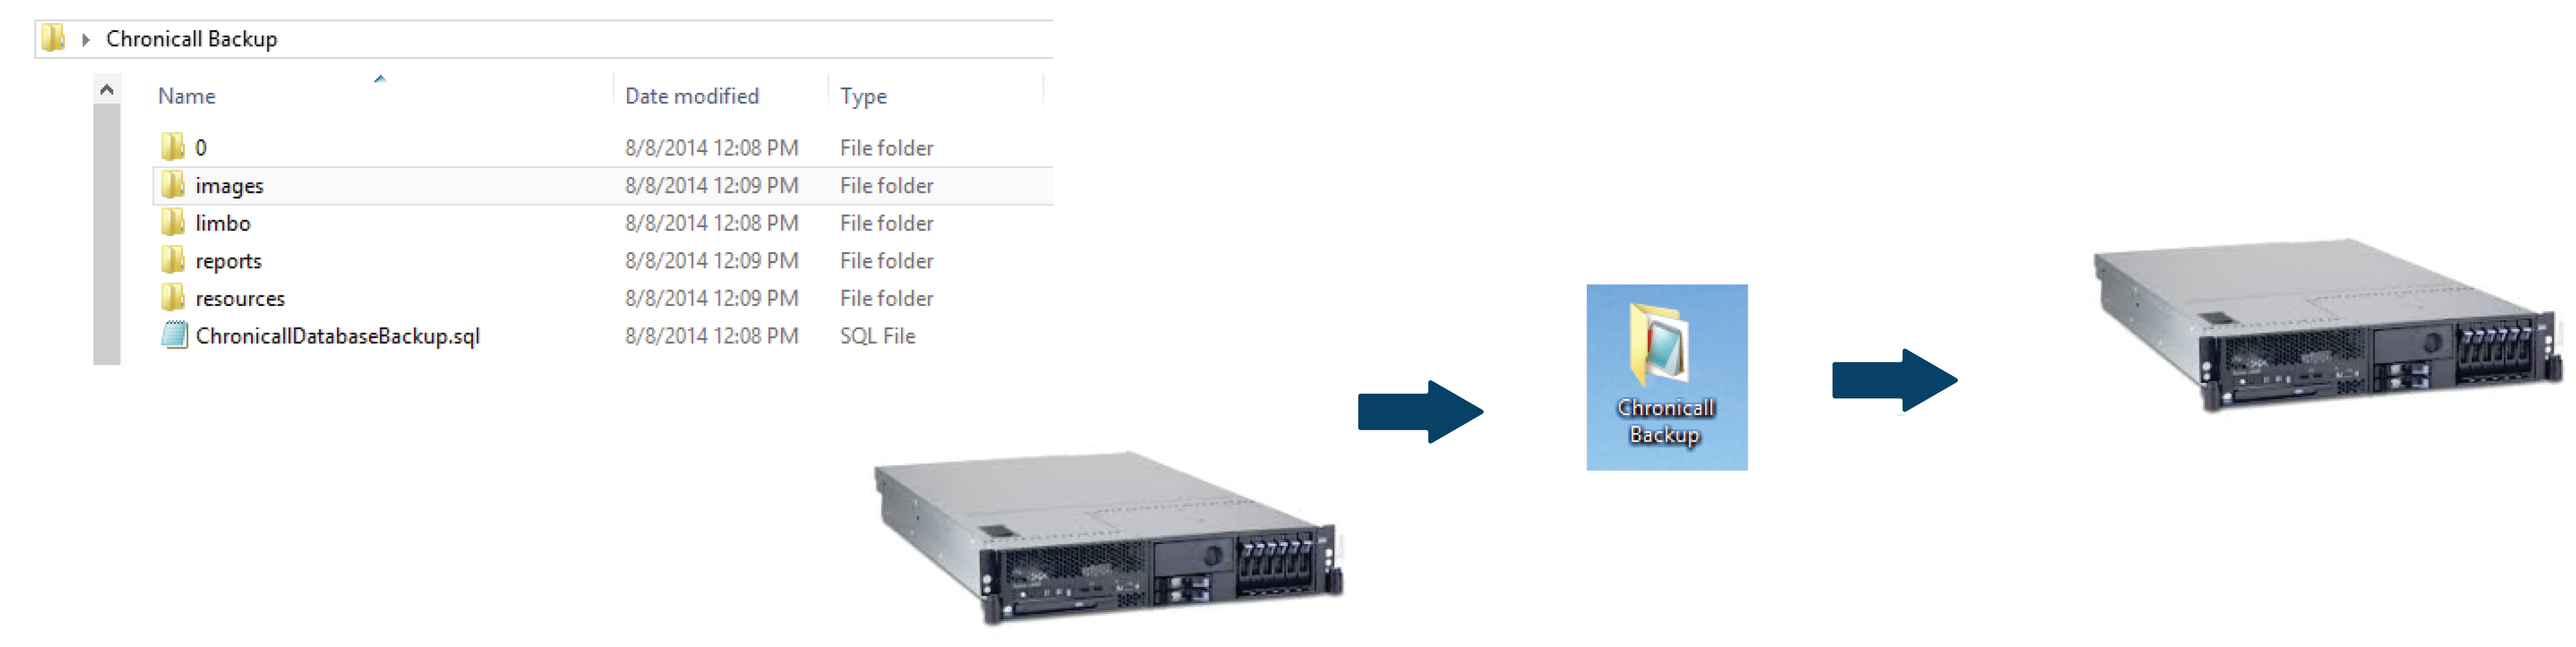
- Make a Backup Folder on the old server to store all of the files that need to be moved

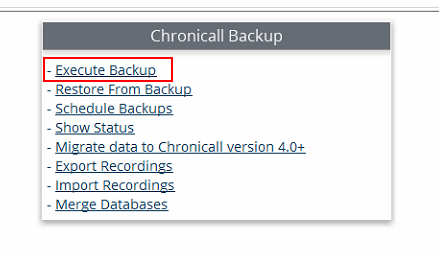
- Make a Database backup and save it to the backup folder. Go to Admin (System) - Manage Backups

- Select Execute Backup
- Verify Backup All Data is selected, as well as Data Only Backup. Left-click Run Backup

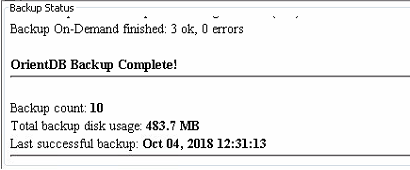
- The backup will start, and you can monitor the progress at the bottom of the screen
- On 3.9.4 and earlier the OrientDB Backup Complete should be the final message you see. For 3.10 and newer, see below
- The final step in 3.10 is the Settings Backup, so once that finishes you should be good to go

- NOTE: If you are on 3.9.4 or earlier, it is recommended you back up your settings.xml file in the main Chronicall directory as well. On newer versions Chronicall backs this up automatically
- On 3.9.4 and earlier the OrientDB Backup Complete should be the final message you see. For 3.10 and newer, see below
- Copy the following folders below to your backup folder:
- Windows
- 32-Bit
- c:\program files (x86)\Xima Software\Chronicall\tomcat\webapps\Root\images
- c:\program files (x86)\Xima Software\Chronicall\tomcat\webapps\Root\reports
- c:\program files (x86)\Xima Software\Chronicall\tomcat\webapps\Root\resources
- 64-Bit
- c:\program files\Chronicall\tomcat\webapps\Root\images
- c:\program files\Chronicall\tomcat\webapps\Root\reports
- c:\program files\Chronicall\tomcat\webapps\Root\resources
- 32-Bit
- Linux
- /var/lib/Xima\ Software/Chronicall/tomcat/webapps/ROOT/reports
- /var/lib/Xima\ Software/Chronicall/tomcat/webapps/ROOT/images
- /var/lib/Xima\ Software/Chronicall/tomcat/webapps/ROOT/resources

- Windows
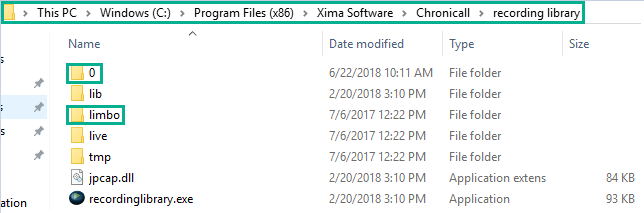
- Also, these files if you use Recording Library to integrate audio recordings with Chronicall
- Windows
- 32-Bit
- c:\program files (x86)\Xima Software\Chronicall\recording library\0
- c:\program files (x86)\Xima Software\Chronicall\recording library\limbo
- 64-Bit
- c:\program files\Chronicall\recording library\0
- c:\program files\Chronicall\recording library\limbo
- 32-Bit
- Linux
- /var/lib/Xima\ Software/Chronicall/recording\ library/limbo /var/lib/Xima\ Software/Chronicall/recording\ library/0
- /var/lib/Xima\ Software/Chronicall/recording\ library/limbo /var/lib/Xima\ Software/Chronicall/recording\ library/limbo
- Windows
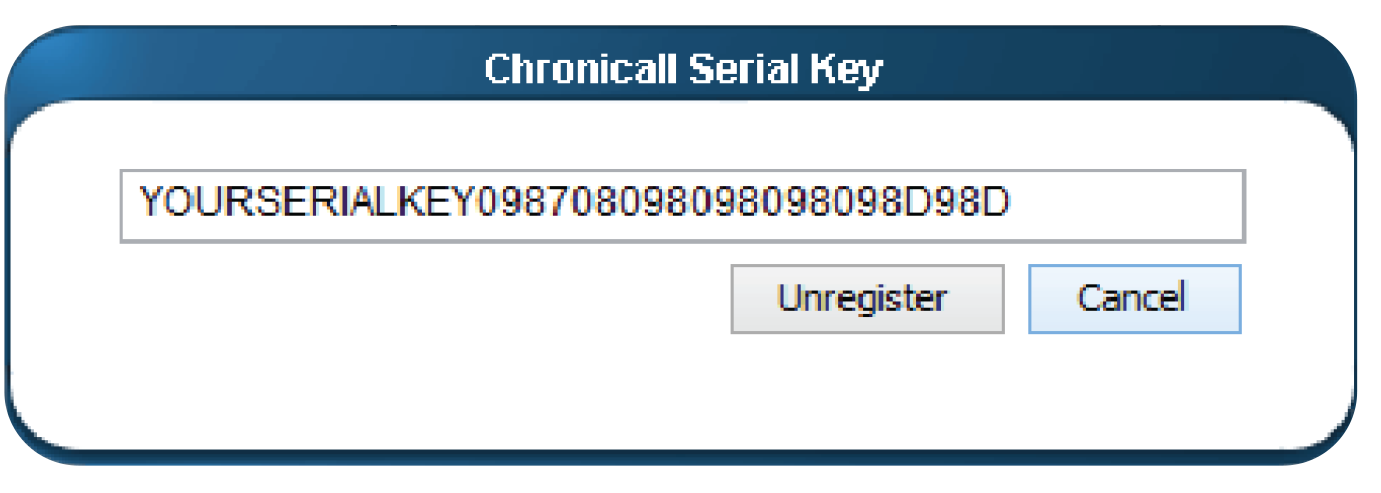
- Now you will want to unregister your Chronicall Serial Key in Chronicall Basic Settings

- Left-click on the ellipses button for the Serial Key settings

- Left-click the Unregister button
- Move the Chronicall Backup folder to the new server
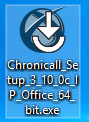
- Download the Chronicall setup file that matches the version of the server you took the backup from to the new server and install the software.
- NOTE: Do not run the setup file on the old server, it will wipe the Chronicall Database. You want to ensure you are installing on a new or fresh server that Chronicall has not been installed on before
- If or when it asks you for your PBX IP address, enter 0.0.0.0
- This will prevent it from logging before we restore the database
- Restore the database
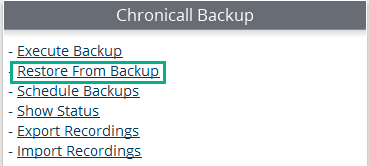
- Left-click Select a zip file to import, locate the backup you made, and select it. Left-click Start Upload once the backup has been selected

- This will give you updates as it progresses. Keep in mind it can take a very long time to unpack the database if it is a larger one.
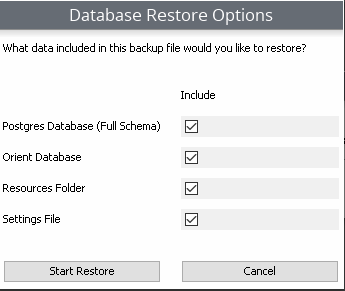
- If on version 3.10.1, there is one extra step here. You want to designate what kind of restore you would like to do, as the restoration is much more thorough in 3.10.1 and forward
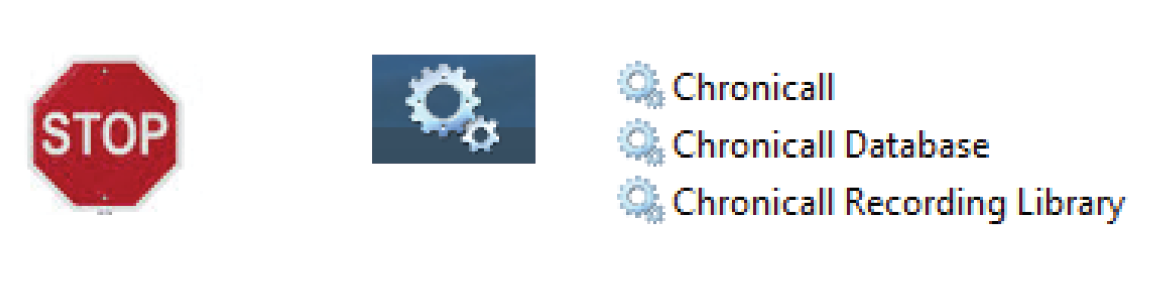
- Stop the Chronicall, Chronicall Database, and Chronicall Recording Library services
- Place the folders that were backed up from the old server into the same file paths on the new server
- Windows
- 32-Bit
- c:\program files (x86)\Xima Software\Chronicall\tomcat\webapps\Root\images
- c:\program files (x86)\Xima Software\Chronicall\tomcat\webapps\Root\reports
- c:\program files (x86)\Xima Software\Chronicall\tomcat\webapps\Root\resources
- c:\program files (x86)\Xima Software\Chronicall\recording library\0
- c:\program files (x86)\Xima Software\Chronicall\recording library\limbo
- 64-Bit
- c:\program files\Chronicall\tomcat\webapps\Root\images
- c:\program files\Chronicall\tomcat\webapps\Root\reports
- c:\program files\Chronicall\tomcat\webapps\Root\resources
- c:\program files\Chronicall\recording library\0
- c:\program files\Chronicall\recording library\limbo
- 32-Bit
- Linux
- /var/lib/Xima\ Software/Chronicall/tomcat/webapps/ROOT/reports
- /var/lib/Xima\ Software/Chronicall/tomcat/webapps/ROOT/images
- /var/lib/Xima\ Software/Chronicall/tomcat/webapps/ROOT/resources
- /var/lib/Xima\ Software/Chronicall/recording\ library/limbo
- /var/lib/Xima\ Software/Chronicall/recording\ library/0
- Windows
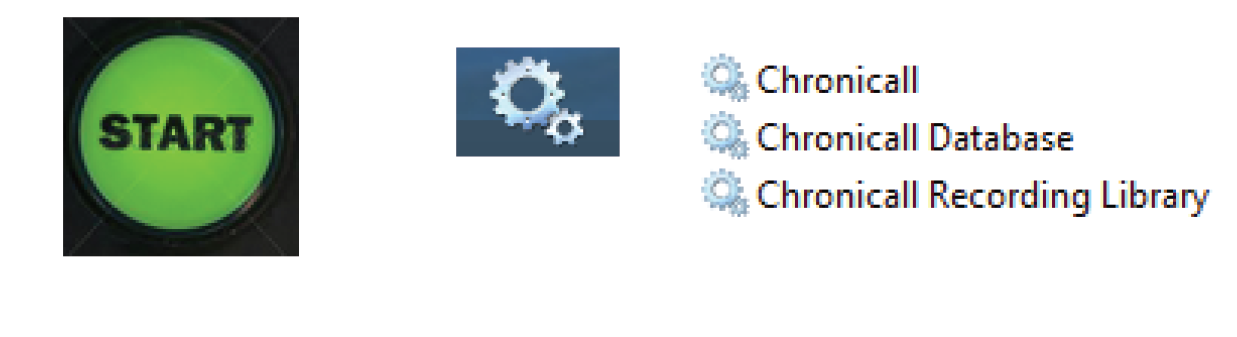
- Start all Chronicall services
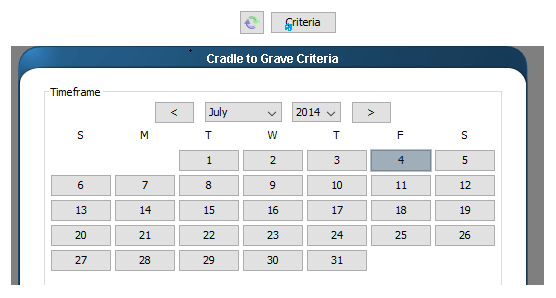
- Open Chronicall and left-click on Cradle to Grave
- Verify that data prior to the restore is visible from a time you were logging
- If there is no old data in Cradle to Grave you will need to restore the database again or contact Xima support